
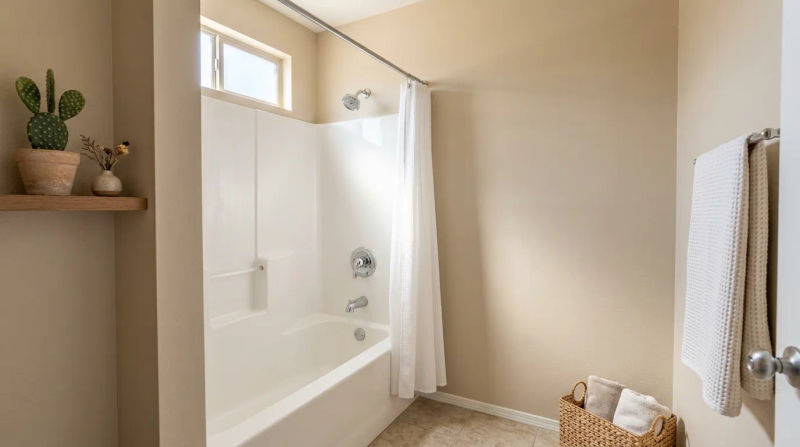
As a Senior Technician with Napoleon’s Home Services, I’ve learned that some of the most satisfying jobs are the ones that solve those small, persistent annoyances that disrupt a homeowner's peace. That was exactly the case with a recent call we received from a client in Tucson Estates. As the desert heat of August gave way to cooler September nights, the quiet of their home was being punctuated by a relentless drip... drip... drip from the master shower. It’s a common story I hear this time of year; a minor leak that was easy to ignore during the day becomes a major nuisance in the silence of the night. Beyond the noise, the homeowner was concerned about the wasted water and the potential for bigger issues down the line. They needed a reliable way to stop shower dripping Tucson Estates, and they wanted it handled by a team they could trust. They were also dealing with an old, unsightly patch on the wall behind the shower handle - a ghost of a past repair that was never finished correctly. They were looking for a complete solution, not just a plumbing fix, and that’s why they called Napoleon’s Home Services.
The Assessment
When I arrived at the home, a classic 1970s build typical of the Tucson Estates community, the problem was immediately apparent. The steady drip from the showerhead was a clear sign of a failing valve cartridge. Over decades, the hard water we have here in Tucson can cause mineral buildup and wear down the rubber seals and plastic components inside the valve, leading to these persistent leaks. The first step was to confirm the diagnosis and identify the specific valve model. After shutting off the main water supply, I removed the handle and trim plate to get a look at the valve body itself. It was an older Moen Posi-Temp model, a workhorse from that era but definitely at the end of its service life.
However, the plumbing wasn't the only issue. Behind the valve, there was a crudely cut access hole in the drywall, covered by a flimsy, store-bought plastic panel. This is something my team at Napoleon’s Home Services sees all the time. A previous plumber or DIY attempt had cut into the wall to access the valve years ago but never bothered with a professional finish. The homeowner explained they’d always hated the look of it and were hoping we could provide a more permanent, seamless fix. This was a perfect job for us, as it combined a common plumbing repair with the finishing work that sets a professional handyman service apart. We weren't just there for a shower valve repair; we were there to restore the entire area to its original condition, leaving no trace of the work behind.
Our Solution
With a clear plan in place, my team and I got to work. The project had two distinct phases: the plumbing repair and the drywall restoration. Our goal was to complete both in a single day to minimize disruption for the homeowner.
Phase 1: The Cartridge Replacement
The first order of business was the cartridge replacement Tucson Estates. For this, precision is key. After ensuring the water was off, I used a specialized cartridge puller tool designed for these older Moen valves. Sometimes these cartridges can be seized in place after decades of mineral deposits, but with the right equipment, it came out cleanly. I showed the homeowner the old cartridge, pointing out the degraded rubber O-rings and mineral scale that were causing the leak.
I then installed a brand new, genuine Moen 1222 replacement cartridge. Using genuine parts is a non-negotiable for Napoleon’s Home Services; it ensures longevity and compatibility. I applied a bit of silicone grease to the new O-rings to ensure a smooth installation and a watertight seal. Before moving on to the drywall, I turned the water back on temporarily to test the valve. We checked for any leaks around the valve body and confirmed that the handle now operated smoothly, shutting the water off completely and silently. The drip was officially stopped.
Phase 2: The Drywall Restoration
With the plumbing secure, we turned our attention to the wall. The true mark of a complete job is making it look like you were never there. We started the drywall access panel patch after plumbing repair by removing the old plastic cover and squaring up the rough-cut hole with a drywall saw. A clean, rectangular opening is much easier to patch seamlessly.
Next, we installed wood backing strips inside the wall cavity around the perimeter of the hole. These strips provide a solid surface to screw the new drywall patch into, preventing it from cracking or becoming unstable later. We cut a new piece of moisture-resistant drywall to the exact size of the opening and fastened it securely to the backing. From there, it was a multi-step finishing process:
- Taping: We applied fiberglass mesh tape over the seams, which provides strength and prevents future cracks.
- Mudding: We applied three thin coats of a quick-setting joint compound (or “hot mud”), allowing each coat to dry and sanding it smooth. Using a fast-drying compound is a technique we use at Napoleon’s Home Services to complete these types of multi-stage repairs in a single visit.
- Texturing: The final and most critical step was matching the existing wall texture. The home had a light orange peel texture. We carefully feathered a sprayed-on texture to blend the patch perfectly with the surrounding wall. This is an art that takes practice, and it’s what separates a professional patch from an obvious DIY job.
The Results
The transformation was complete by late afternoon. The constant, maddening drip was gone, replaced by blessed silence. But the most visually striking result was the wall. Where there was once an ugly, ill-fitting plastic panel, there was now a seamless, solid, perfectly textured wall. You simply couldn't tell a repair had ever been made. We left the homeowner with a small container of their wall paint for a final touch-up once the texture was fully cured.
The homeowner was thrilled. They not only got their immediate shower valve repair problem solved but also had a long-standing eyesore in their bathroom eliminated at the same time. They were particularly pleased that they didn't have to coordinate two different contractors - a plumber and a drywall specialist. Napoleon’s Home Services handled everything from start to finish, providing a single point of contact and a cohesive, high-quality result. The value wasn't just in the parts and labor; it was in the convenience, peace of mind, and the satisfaction of a job done right, the first time.
This project is a perfect example of our philosophy: we don’t just fix problems; we deliver complete solutions that improve your home and your quality of life. That quiet bathroom and flawless wall are a testament to the comprehensive care and craftsmanship we bring to every job.
Ready for your own Napoleon’s Home Services experience? Contact us today for a free inspection.